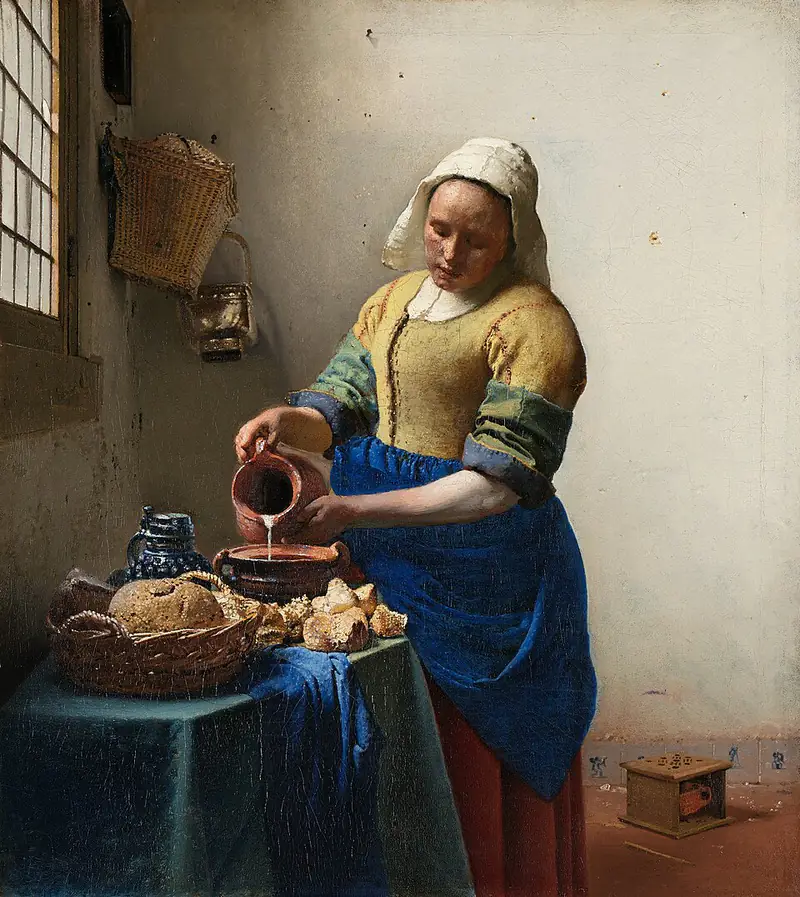
Ten years ago a good reproduction of a Vermeer meant a poster from the museum shop, printed on thin coated stock in colours chosen by someone in a hurry. Today the Rijksmuseum will hand you The Milkmaid at a resolution high enough to count the crumbs on the table, and it asks for nothing in return.
That is a gift, but it moves the hard part onto you. A file is not a print. Between the two sit paper, ink, light and a frame, and each one can flatten a painting that took months to build up in thin glazes. The good news is that none of it is mysterious. Printers have been making these choices for a century, and the rules are short.
Start with the right file
Everything downstream depends on the file you begin with. A print can lose detail at every step; it can never gain it. So the first job is to find the largest, cleanest original the collection publishes, and to keep it untouched as your master.
Where museums publish their originals
Most of the big collections now release public-domain works without conditions. The Metropolitan Museum of Art, the Art Institute of Chicago and the National Gallery of Art in Washington publish theirs under open-access terms, and the Rijksmuseum offers its collection for free download through Rijksstudio. Look for the download link labelled with the largest size, usually a TIFF or a very large JPEG, and ignore anything marked as a preview.
Check the record, not just the picture. A good collection page lists the medium, the dimensions of the original and the date the photograph was made. A recent photograph, taken after the last cleaning, is almost always the one to choose.
How many pixels you need
Print labs talk in pixels per inch. At 300 ppi a print holds up to close inspection; at 200 ppi it looks just as sharp from a normal viewing distance, which for anything larger than a sheet of paper is most of the time.
| Print size | At 300 ppi | At 200 ppi |
|---|---|---|
| 8 × 10 in (20 × 25 cm) | 2400 × 3000 px | 1600 × 2000 px |
| 11 × 14 in (28 × 36 cm) | 3300 × 4200 px | 2200 × 2800 px |
| 16 × 20 in (41 × 51 cm) | 4800 × 6000 px | 3200 × 4000 px |
| 18 × 24 in (46 × 61 cm) | 5400 × 7200 px | 3600 × 4800 px |
| 24 × 36 in (61 × 91 cm) | 7200 × 10800 px | 4800 × 7200 px |
If the file falls short, print smaller. Upscaling software has improved, but it invents texture rather than recovering it, and a painting's texture is exactly what you are trying to keep.
Choose the paper before the size
Paper decides more about the finished print than any setting on the printer. It sets how deep the darks can go, how warm the whites look and whether the surface reads as a photograph or as something closer to the original.
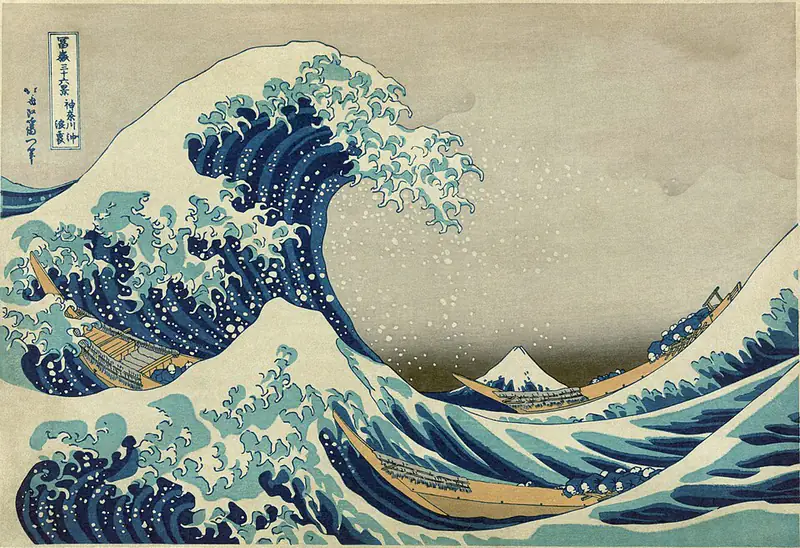
Matte fine-art paper
A matte paper has no shine at all, so it never fights the light in the room. It suits works on paper, drawings and anything with soft, chalky passages, such as Hokusai's prints. The cost is depth: the blacks on matte stock stay a little grey.
Baryta and other glossy fibre papers
Baryta papers carry a layer of barium sulphate under the ink, the same coating used in darkroom prints. They give rich, deep blacks and a gentle sheen. For oil paintings with dark grounds, like most Dutch interiors, this is usually the right choice.
Cotton rag, for the long haul
Papers made from 100 percent cotton, without optical brighteners, age the slowest. They start a little warmer than office white and stay that way. If the print is a gift or will hang for decades, pay for cotton.
Hold the paper to the window before you order a box. If it glows blue, it is full of brighteners, and it will be yellow by the time the children have left home.
Tomas Reyes, master printer at Northlight
Get the colour right on screen first
Most disappointing prints are not printing problems. They are screen problems. A laptop at full brightness shows colours a sheet of paper can never reach, so the print comes back dark and dull and the printer gets the blame.
Calibrate, then soft-proof
A hardware calibrator costs about the same as two large prints and pays for itself on the first order. Set the screen to around 100 to 120 candelas per square metre, roughly the brightness of a well-lit page. Then use your editor's soft-proof view with the lab's profile for the paper you chose. What you see is now close to what you will get.
A print is a translation. The paper, the ink and the light in your room are the new language.
A two-line check before you send the file
Before uploading, confirm the size and the embedded colour profile. On a Mac, the built-in sips tool does it in one line; ImageMagick converts to the profile most labs ask for.
# Size and colour profile (macOS)
sips -g pixelWidth -g pixelHeight -g profile milkmaid.tif

# Convert to Adobe RGB for the lab, keeping 16 bits (ImageMagick 7)
magick milkmaid.tif -profile AdobeRGB1998.icc -depth 16 milkmaid-print.tif
Keep the untouched download as your master and work on a copy. You will want the original again the day you try a different paper.
Frame it like a museum would
Framing is where a good print becomes a picture. Museums frame for two things: protection and attention. Both point to the same choices.
Mats, glass and the gap between
A wide, plain mat gives the eye somewhere to rest before it reaches the image. Make it wider than feels natural; 8 to 10 centimetres is a good start for a print of 40 × 50. Ask for UV-filtering glazing, and make sure the mat keeps the glass from touching the print.
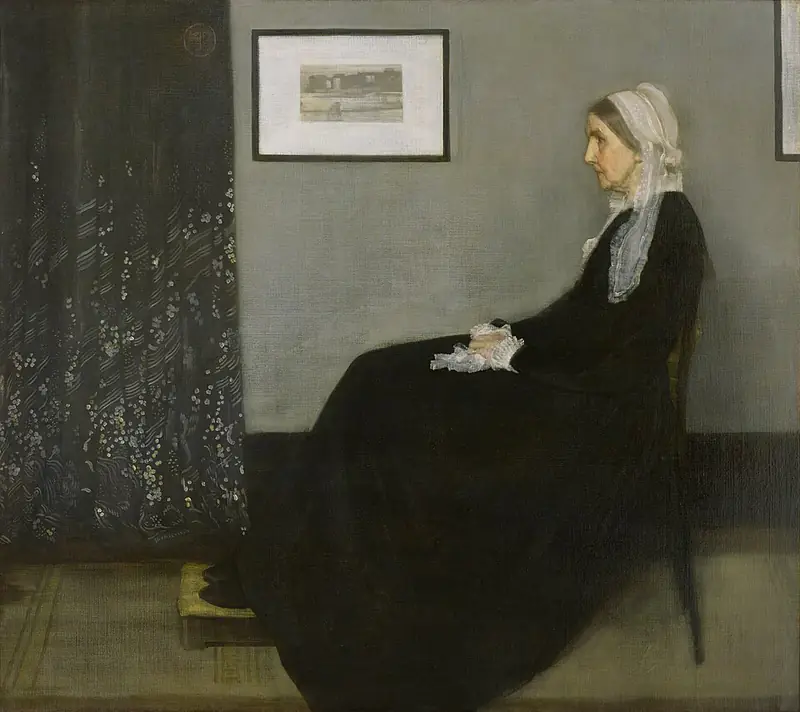
Hang it at 57 inches
Many galleries hang work so that its centre sits about 57 inches, or 145 centimetres, from the floor: roughly the eye level of an average adult. At home, above a sofa or a sideboard, lower it so the frame sits a hand's width above the furniture. The rule exists to be bent, but it is a better starting point than the top of the wall.
What it costs
For a 16 × 20 inch print on cotton rag from a good lab, expect to pay around the price of a nice dinner for two. A custom frame with a wide mat and UV glazing will cost three to four times that. It is tempting to save on the frame. Don't: the frame is what protects everything else you paid for.
A short list to keep by the printer
- Download the largest file the museum offers, and keep it untouched.
- Choose the paper before the size.
- Calibrate the screen and soft-proof with the lab's profile.
- Order a small test strip on the real paper.
- Frame with a wide mat and UV glazing, and hang it at eye level.
Then step back, turn the lights down a little, and let the painting do what it was made to do.